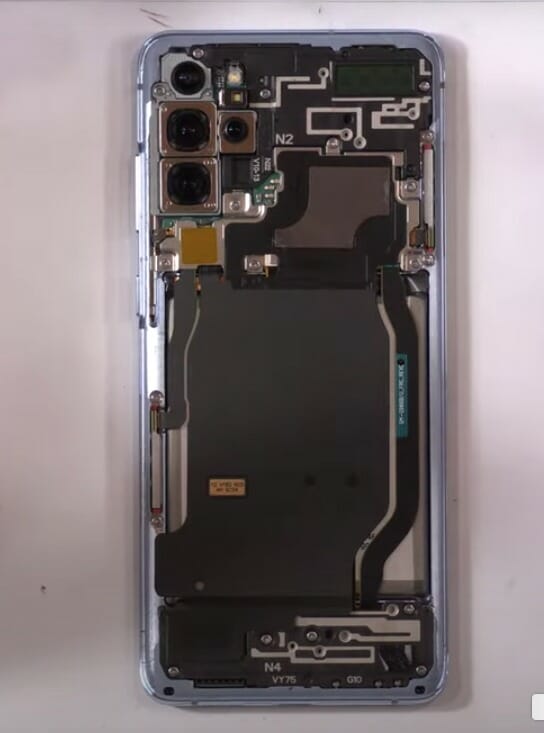
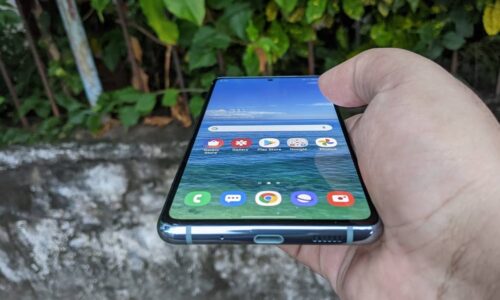
Today we are going to be fixing the S20 Plus 5G.
Before we start your Samsung S20 Plus 5G Screen Repair / Replacement, a quick word on what type of screen to use. With out hesitation, I would say use an original Samsung Service Pack. Through experience and believe me we have lots of it, particularly Samsung and Huawei phones do not function well with copy screens. You may consider using a refurbished screen for your Samsung S20 Plus 5G Screen Repair / Replacement, but bear in mind the top curved glass has been glued back on to the LCD by some small backroom tech company. I know the service pack is expensive, but it is well worth spending the money once for quality rather than spending more money twice for poor quality.
Start off by heating the back phone with a hair dryer, heat gun or hot plate to 100 degrees celsius or so that you can still touch the device. Beware the heat gun does not damage the phone. This will soften up the glue that is holding the back battery cover of the phone on to the phone frame. Many of the screws are held in place by glue and these screw heads are small, so they can easily strip if the glue is not softened before you attempt to remove them.
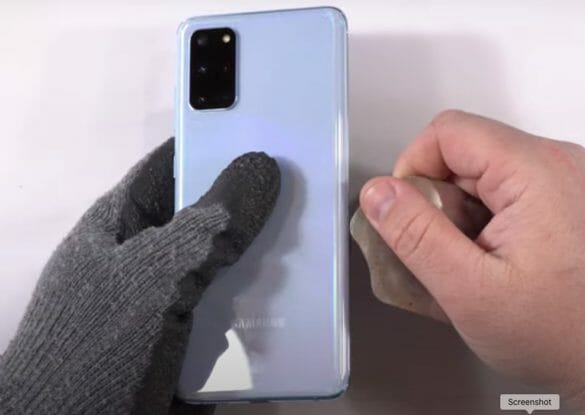
Next we use an iFlex tool and start slicing in between the frame and the back cover. Do not allow the tool to go in too deep as there are components under the back battery cover that can get damaged. You have to go around the curves carefully without cracking the back cover.
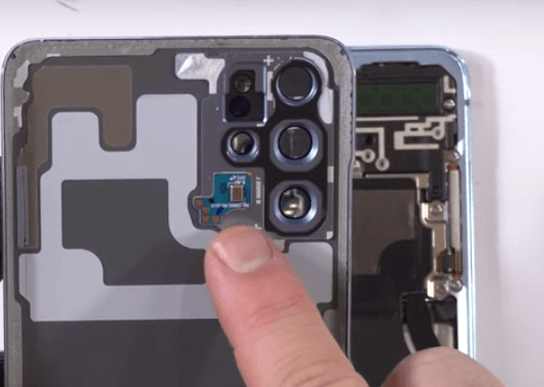
Once you have the back cover off, turn it over and note the microphone on the back. Often the back cover needs to be replaced, so remember you will need to transfer the microphone. The microphone makes contact with some spring contacts on the Samsung S20 5G, so pay particular attention to the location of the microphone as these contacts need to line up when the new back cover is replaced. The last thing you want, is to do your whole Samsung S20 Plus 5G Screen Repair and have to re-open it to relocate the microphone.
Samsung S20 Plus 5G Screen Repair / Replacement – Disassembly
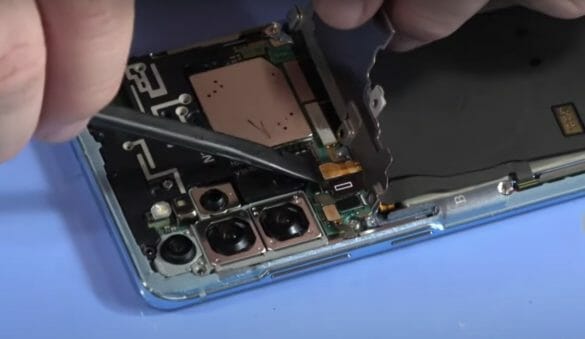
Next we will remove all the screws that hold the Samsung S20 5G Plus antennas and induction charging pad in place. Make sure you map out your screws, so you can replace them. Some phone models have all the screws exactly the same length, but you never know unless you look at each screw individually if they are all the same length. You also do not know if newer models will follow the same design policy, so just map the screws out and put them back where they come from as puncturing a circuit board will be an expensive mistake.
Once all of the screws have been removed, carefully detach the lower part of the induction pad from the phone. It is just held in place with a little adhesive, use some isopropynol. Next disconnect the induction pad connector which is under the metal plate. Now disconnect the battery and then all the connectors on the main board. Next heat the battery as before from the screen side, add some isopropynol to the battery compartment and pry the battery gently out of the phone casing. Be careful not to puncture the battery as it will probably cause a fire, the last thing you want is to turn your Samsung S20 Plus 5G Screen Repair in to a fireworks display.
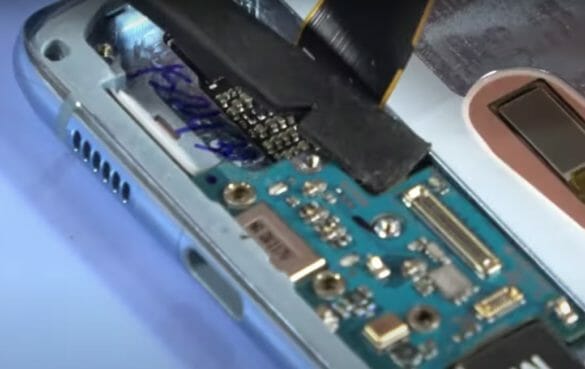
Next lift the speaker out of the bottom of the phone, it just clips out. Once you have disconnected the cables, remove the 3 screws holding in the sub charging port board. Now lift the board from the side shown. NB – there is a spring contact on the under side close to that area, so be careful. This board just lifts out and is not held in with adhesive.
You will need to remove the vibrator motor which is glued in, and transfer it to the new screen. There is a small recess to get the end of the tweezers in so you can pry it up, apply heat to the screen side if needed. Disconnect & transfer the 5G antennas. Lift the top black plastic antenna & set aside.
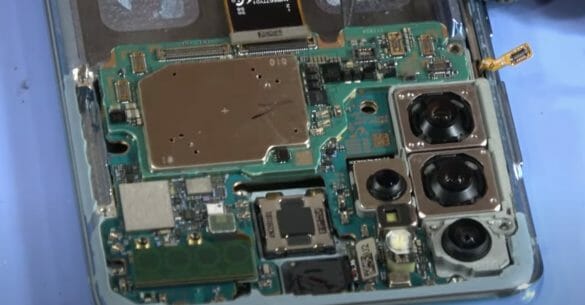
Now remove the sim tray and disconnect the top camera cable. Remove the screw holding the main circuit board in place and lift it from the bottom as shown. Most Samsung Service Packs come with a new front camera and ear speaker, so you can now start to rebuild the phone, by simply reversing the process.
Samsung S20 Plus 5G Screen Repair / Replacement – Re-assembly Tips:
- When replacing the sub board and main board the same way that they were removed, remember to replace the screws holding these boards in place. The sub board has some frame cut outs which it fit into, it should almost sit flat when installed correctly.
- The main speaker just snaps back into place, remember to replace the sub board screws and connector cables first. Replace the screws.
- Use some glue to hold the battery in place. Don’t put glue on the screen.
- Now install the battery – NB – Do not connect the battery yet.
- Reconnect the main board cables.
- Install the black plastic antenna to the top of the phone and replace the top 3 screws and the screw holding the cameras in place.
- Now connect the battery and connect the charging pad. Replace the charging pad bracket and replace the rest of the screws.
- Test the phone and replace the back in place.
And just like that you have done your first Samsung S20 Plus 5G Screen Repair / Replacement.
