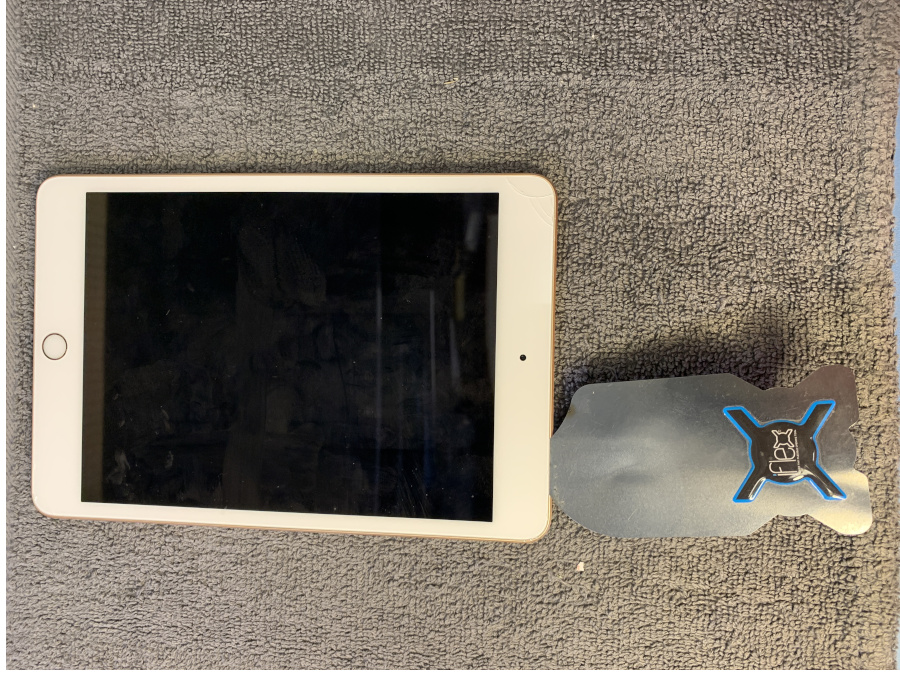
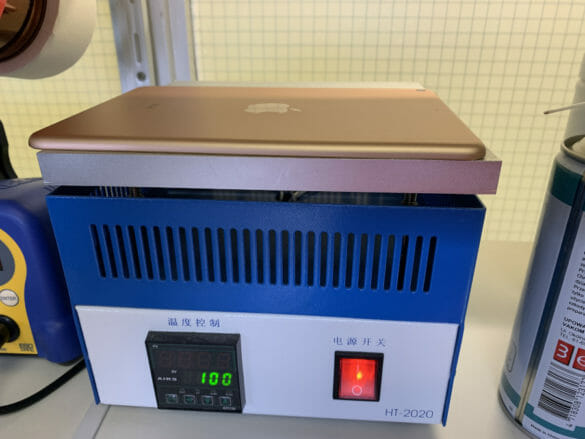
Today we are doing an Apple iPad Mini 5 Screen Repair / Replacement. This specific model comes with the Digitiser attached to the LCD (Liquid Crystal Display), so it costs more to repair than earlier models. First we need to heat the screen to 100 degrees to soften the adhesive underneath the screen. I use a heat plate, you can use a heat gun or hair dryer. Heat so that you are just able to touch the iPad. Be careful using a heat gun, you can easily over heat your iPad. A good bench mark of how hot you should allow your device to get, you should be able to touch the area you are heating.
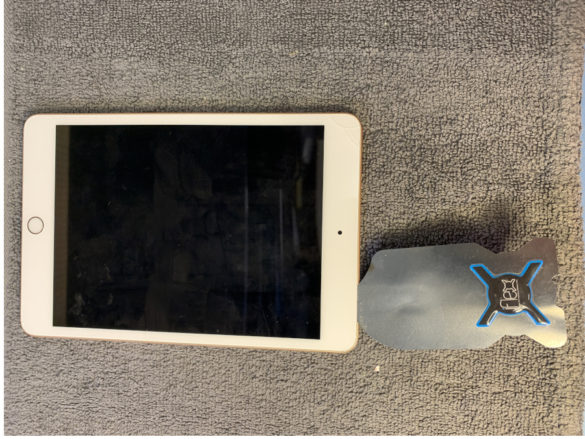
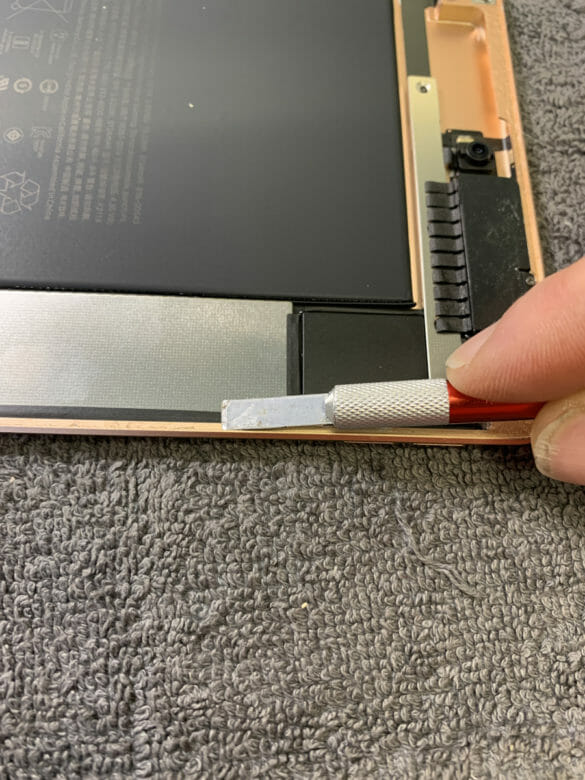
After heating, Start any where except on the bottom where the home button is. Starting with an area where the glass has not been cracked is preferable. I’m starting from the top side. I’m using an iFlex blade to pry up the screen just a little bit, then I use a plectrum with some alcohol to slowly work my way around the screen.
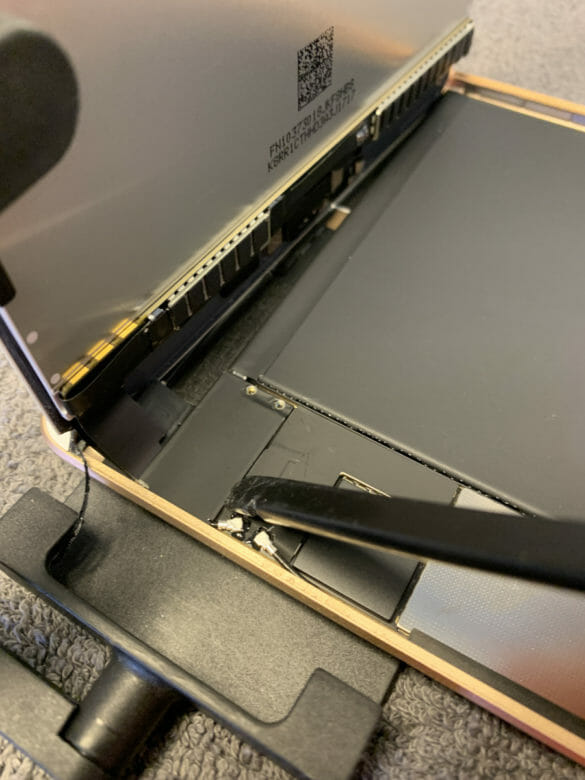
If you need more heat, use a heat gun to make the job easier. Note how the screen opens and that the cables are attached on the bottom of the screen. Do not completely lift up the screen yet because there are cables connected to the logic board. In order for us to remove the screen, we need to disconnect the cables first. There are two screws to remove. NB – VERY IMPORTANT once the screws have been removed, use a plastic pry tool to carefully pry up the bracket and to disconnect cables. One of the cables is for the battery and often the battery cable connector can become stuck to the bracket. Touching the battery terminal with a metal object will destroy the battery connector due to the energy released from a voltage short and may cause a fire. The connectors are really small and very sensitive, so be careful.
With the screen disconnected, you will need to clean all the glue off the frame of the Apple iPad. I use a flat scalpel blade with some Isopropanol & ear buds. Be careful you do not slice any of the internal components and try not to score the internal frame. Cleaning the frame is important because when a screen cracks, small shards of glass are left on the frame. When seating the new screen, a single shard of glass will create a spike, which will crack the screen as you apply downward pressure to seat the screen in to the frame.
iPad Mini 5 Screen Repair / Replacement – Prepare the New Screen
Once the frame is clean, you will need to transfer several components on to the new screen.
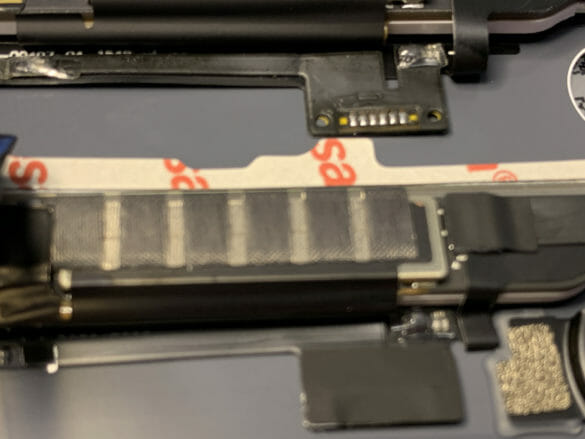
Start will the small circuitry shown in the picture. As far as we are aware, this is used to sense if the Apple iPad has a magnet on a cover to make the screen go blank once the cover is closed. First remove the protective tape. You will need to do some basic soldering to release the component and to transfer it to the new screen. We usually place some Kapton tape or some foil under the area we will be soldering on the new screen, just to provide some heat protection. Note how the holes line up. Don’t force the removal as you will damage the component. Remember to replace the tape which was on top of the metal soldered pins.
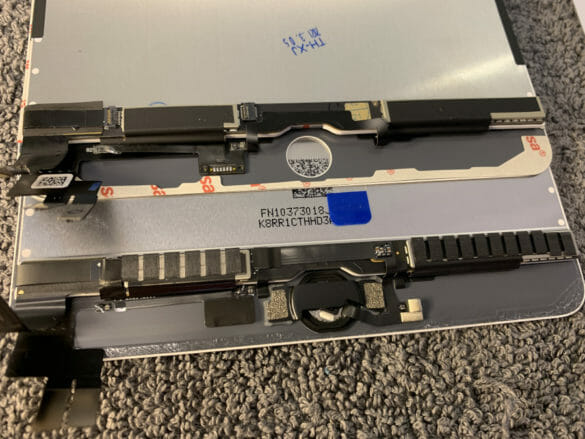
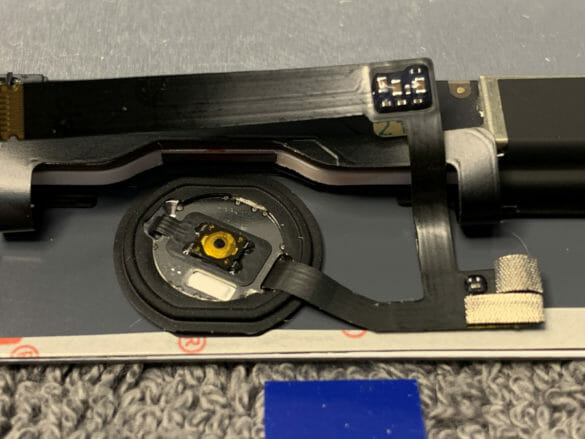
Next you can start the transfer of the home button and then home button securing bracket.
First remove the tape on top of the button cable connector and lift the securing arm. A word of warning, the button cable has components soldered on to it. If you bend the cable where these components are located or damage the components, the button will not work. Now heat the screen from the outside to soften the glue around the button and the glue holding the cable in place.
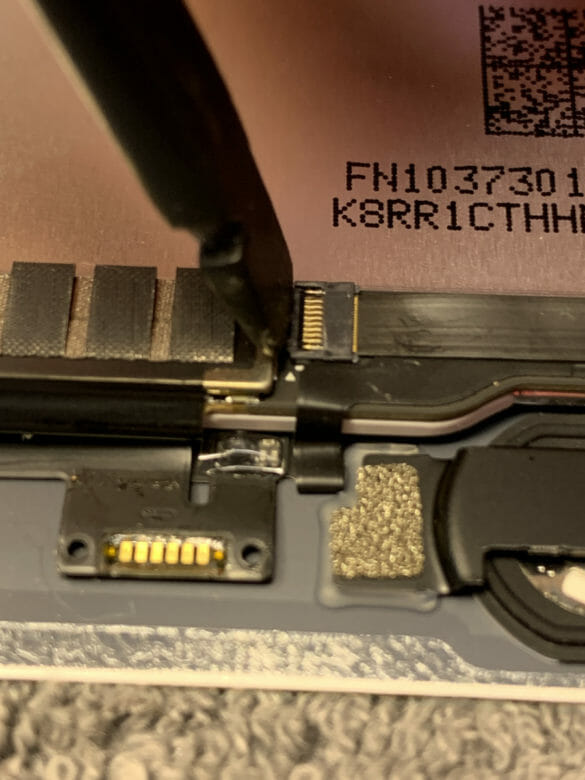
Once again I use a plectrum with Isopropanol to release the glue for the button cables. Use a flat scalpel to cut through the glue holding the button bracket in place. Remove the bracket & apply some gentle force to the button from the outside of the screen. Try to get the button off with the glue which holds the button in place. You may need some more heat (from the outside not directly to the button). Install the button on to the new screen. Use some glue or tape to secure the button bracket in place. Test the button to see if it clicks.
Now check if the screen has the top camera bracket attached, if not, transfer it to the new screen. Take note of its orientation. Lastly inspect the iPad frame for damage to the frame. The screens have very little tolerance between the screen & the frame, so if a frame corner is bent in for example, the new screen will not seat properly and will probably break when you try to install it.
Now before I apply new adhesive or tape to the iPad frame, connect the new LCD assembly to the iPad Mini/Five without installing the screen bracket. NB – Connect the battery last. If everything works, continue, if not, check the connectors. If the screen still does not work, try the old screen to see if it is still working. If the old screen works then you have a faulty screen. If the screen works, but the button does not, then check the button connector block, often the flex will not be installed in far enough. If it is, you can test the button on the old screen. If neither works, the button is probably damaged. Once you have the screen & button working, disconnect the screen & prepare the iPad 5 with special tape. If you are using glue, attach the screen first with the securing brackets and then apply the glue around the edges. NB – Often screens come with adhesive tape already on the new screen, this tape seldom works very well, so you will have to use some extra glue. Once the frame is prepared, switch the iPad on again and just check the screen & button are responding, the last thing you want is to glue the screen into place and find out one of the connectors was not properly seated. Now seat the new screen gently from the button side first. Before you apply any downward force, ensure all corners are aligned. Now apply some gentle downward pressure to set the screen in place. Use some tape or pegs to apply some pressure to the screen to hold it in place. Allow 2 – 3 hours for the glue / tape to take hold / set. Hey presto your iPad mini 5 screen repair / replacement is done.


